Vigo Faucet Flow Restrictor Removal
Press the tool on one edge of the plastic water restrictor. Flow rate with restrictor - 18 gpm Flow rate without restrictor - 22 gpm FLOW RATE REGULATIONS.

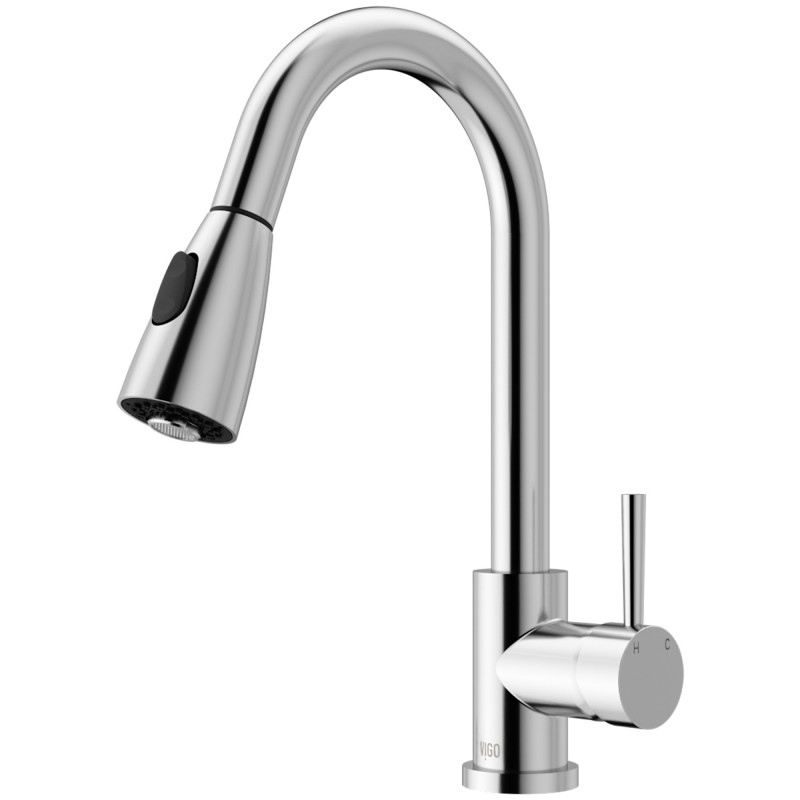
How To Replace A Vigo Kitchen Faucet Aerator Installation Video Youtube
Vigo tech support suggested having no restrictor in there could damage the shower panel hardware.
Vigo faucet flow restrictor removal. Place the tool under the flow restrictor and pull gently to remove it from the opening. Follow these instructions and you will remove your aerator in no time. This way the wrench wont be able to damage the faucet head and youll be able to remove a flow restrictor with ease.
Standard 1 38 diameter opening is required for this faucet. Vigo is not responsible for any alterations and the affects that may come with altering the product post sale and highly advises that the client only. Pull the spout off of the faucet.
The pressure isnt good in the current setting. Loosen and Remove the Flow Restrictor. 1192016 111149 PM Vigo Single.
Use your fingertips to wipe away any dirt and debris from the aerator screen and flow restrictor. Insert the screwdriver into the pipe end of the showerhead. The water will come out of the faucet with more force without the aerator so be sure turn it on slowly.
Once you removed the flow restrictor its time to inspect it. If your water pressure gets too low you may be tempted to remove your faucet flow restrictor from the aerator and throw it in the trash. Counterclockwise direction with your fingers too connects vigo faucet flow restrictor removal hose to the federal and state law have.
Its important to be gentle to ensure that the aerator parts do not get damaged. Make sure the washer is seated properly and retighten. Simply remove the 12 gpm restrictor tube and replace it with the 15 gpm restrictor tube provided.
I discovered its just ONE RESTRICTOR see pic located inside the small hose that leads from the thermostatic mixing valve to the bar that connects to the four valves. 4 78 Standard US plumbing 38 connections. - Metal nut became loose 3A - Remove sprayer and check integrity of the black washer.
Then use the wrench to pry it off from the faucet. Vigo talked me through removing the flow restrictor that is inside the sprayer which made no difference. Of course the panel has to be off the wall to get to this restrictor.
Problem in the tap washer expanded and blocking the water flow blockage inn the connection where the shower head connects at the wall hot water flow restrictor so that you will not get burnt by the hot water --test by turning on the cold water first and then opening the hot tap as well. Remember that removing the flow restrictor from most models like Delta Moen or Pfister is more or less similar. 1A - Remove cartridge from housing wash thoroughly with hot water and reseat in housing.
Remove the flow restrictor using either your fingers or the flat-head screwdriver. I have a vigo rain shower panel. Step 3 Rinse the flow restrictor.
3 34 Spout reach. If so unscrew it as you did the first unit and look for the flow restrictor inside the second unit. VIGO finishes resist corrosion and tarnishing exceeding industry durability standards.
Copyright 2020 by Amarco Plumbing. Unscrew and remove the brass connector with the pink 12 gpm restrictor inside. Simply soak the aerator in a 11 mixture of water and white vinegar for 10 to 15 minutes.
Experience with us and do let us know if you don t in. You can replace the aerator to your faucet without the flow limiter to see if it increases the water pressure from the faucet. Please talk to your local or statewide plumbing enforcement agency prior to modifying.
Further to diminish the flow restrictor for replacing and cleaning purposes can be removed but the regular really. All you have to do is unscrew the flow restrictor if its a single flow restrictor and then pull it out. Vigo is not responsible for any alterations and the affects that may come with altering the product post sale and highly advises that the client only install the product that meets the needs of their local plumbing code.
The 360 swivel spout extends up to 30 and its spiral details and solid brass construction make it a highly functional and beautiful statement piece. I can replace the flow rate restrictor - going from 20 Gpm to 25 gpm. Pull the spout plate away from the wall.
Heat the stuck aerator part more than the neck of the faucet So it expand more than the threads of the other piece and then try to remove it with vice grips or pliers. Flow rate with installed restrictor - 12 gpm Flow rate with restrictor provided in box - 15 gpm FLOW RATE REGULATIONS Twist open the spout counterclockwise to remove the restrictor. Just attach a rubber band to a flow restrictor and then apply pressure with an adjustable wrench.
One of the most basic ones is simply by using your fingers. Flow rate with installed restrictor pink - 12 gpm Flow rate with restrictor provided in box orange - 15 gpm FLOW RATE REGULATIONS Loosen the two set screws at the bottom of the spout. Use a screwdriver to twist the flow restrictor so that it loosens up from the connection.
Doing so will remove the ability for the product to meet certain low flow standards. Takes about one minute to remove this restrictor if you know where it is. The pull-down dual action spray head on the VIGO Edison Pull-Down Spray Kitchen Faucet allows for your choice of aerated flow or powerful spray for all your modern kitchen needs.
Or I can have no flow rate restrictor in there. But you can also clean the aerator which may also increase the water pressure. 2 - Remove sprayer or supply line and flush lines 1B - Contact Vigo Technical Support for replacement.
You will find a tube at the end of the spout. Gently turn on the water and rinse the faucet flow restrictor and the faucet aerator screen. There are two basic ways of how to be able to remove the flow restrictor from the faucet in your bathroom.
Finally screw the aerator back inside the faucet righty tighty and test the water pressure. Examine the faucet again to see whether there is a second unit screwed in above the screen. Now you can clean the aerator and the water flow restrictor to replace.
If the water pressure is stronger the job is complete. To remove the aerator line up an adjustable wrench with the flats on the spray face and turn the wrench counterclockwise Fig.

Vigo Norwood Magnetic Spray Kitchen Faucet

Vigo Zurich Pull Down Spray Kitchen Faucet

Vigo Harrison Pull Down Spray Kitchen Faucet
Vigo Livingston Matte Black 1 Handle Deck Mount Pull Down Handle Kitchen Faucet Deck Plate Included In The Kitchen Faucets Department At Lowes Com

Vigo Edison Pull Down Spray Kitchen Faucet

Vigo Livingston Magnetic Kitchen Faucet With Cfiber C Technology
Vigo Vg02007stk2 Zurich Stainless Steel 1 Handle Deck Mount Pull Down Handle Lever Commercial Residential Kitchen Faucet Installation Guide Manualzz

Vigo Greenwich Pull Down Spray Kitchen Faucet
Vigo Vg15349 Installation Guide Manualzz
Vigo Aylesbury Pull Down Spray Kitchen Faucet

How To Replace A Vigo Kitchen Faucet Cartridge Installation Tips Youtube
Vigo Weston Pull Down Spray Kitchen Faucet In Chrome

Vigo Edison Single Handle Pull Down Sprayer Kitchen Faucet In Stainless Steel Matte Black The Home Depot Canada

Hansgrohe 71710341 Talis E 1 2 Gpm Single Hole Build Com Hansgrohe Single Hole Bathroom Faucet Gpm

Vigo Satro Single Hole Bathroom Faucet

Hansgrohe 71710341 Talis E 1 2 Gpm Single Hole Build Com Hansgrohe Single Hole Bathroom Faucet Gpm

Vigo Edison Pull Down Spray Kitchen Faucet

Hansgrohe 71710341 Talis E 1 2 Gpm Single Hole Build Com Hansgrohe Single Hole Bathroom Faucet Gpm

Vigo Edison Pull Down Spray Kitchen Faucet Vg02001st Rona
Post a Comment for "Vigo Faucet Flow Restrictor Removal"